Here is a step-by-step description of how to configure your Microsoft Outlook 2011 email client for Mac OS-X to access your messages.
Creating a new email account
Launch the application, it is usually located in your "Finder", "Applications" folder, then "Microsoft Office 2011" and finally "Microsoft Outlook".
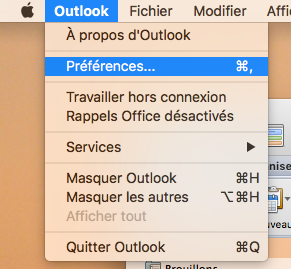
Once the application is started, access the "Outlook" menu, then the "Preferences... " :
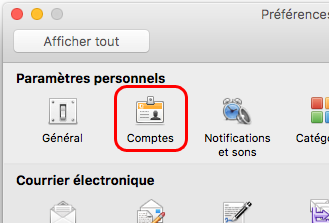
In the preferences window that appears, in the "Personal Settings" section, select "Accounts" :
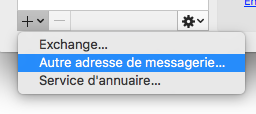
Finally, in the account management window, at the very bottom, click on the "+", then select "Other email address... "
A new sub-window will appear, offering you toenter your account information. Enter, in order, the following settings according to your email account:
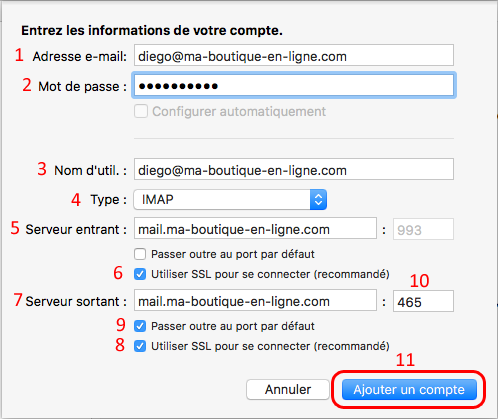
- Email address: The full email address of the account you are setting up, for example diego@ma-boutique-en-ligne.com;
- Password: The password you set when creating your e-mail address (for more information, please see: How do I create an e-mail account on my domain? or How do I retrieve my e-mail account password?) ;
- User name. The full e-mail address of the account you are setting up (as for"E-mail address"), for example diego@ma-boutique-en-ligne.com;
- Type: Select"IMAP" or"POP". If you don't know which one to use, see our suggestions in the topic: What to choose between IMAP and POP?
- Incoming server: enter your domain name preceded by "mail.", for example for the domain my-online-shop.com, you should enter mail.my-online-shop.com;
- Use SSL to connect: check the box;
- Outgoing server: Same as"Incoming server";
- Use SSL to connect: check the box ;
- Override default port: check the box;
- Port number: enter 465;
- Click on"Add an account" to finalize the creation of your configuration.
Note: Regardless of the connection method you choose, if Outlook reports a problem with authentication, certificate validity or a connection problem, make sure you have a valid SSL certificate generated for your domain: How to generate a valid SSL certificate for your e-mail connection?
Congratulations: your e-mail account is now configured and ready to use!