The use of CalDAV and CardDav calendars and contacts respectively is native (included) in MacOS X. Below is how to add your CalDAV calendars and CardDav contacts from your account hosted with us to your computer running this operating system.
Note: The screenshots you will see below are taken with a computer running MacOS X High Sierra (Version 10.13.*). If you have a different version, some of the buttons may be placed differently or may not look exactly the same.
Prerequisite: You must have at least one e-mail account in your hosting. To know how to create an e-mail account you can consult our associated FAQ: How to create an e-mail account on my domain?
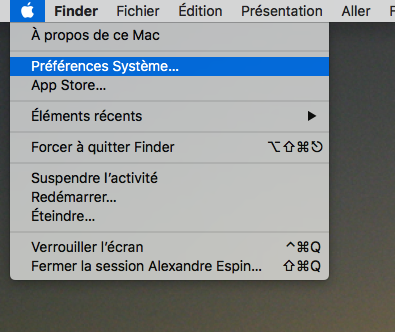
- Start by going to your system preferences by clicking on the apple and then, select "System Preferences..." :
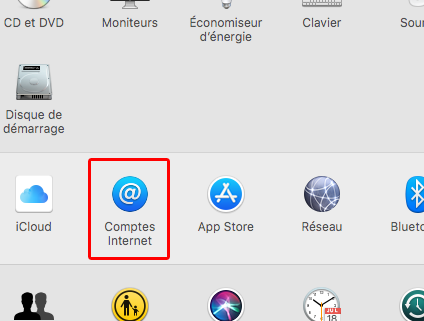
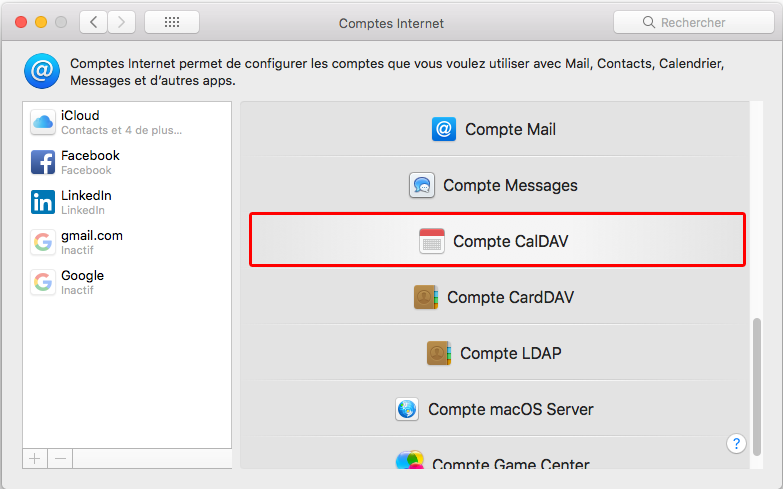
- Once the panel is open, select the "Internet Accounts" icon (in red):
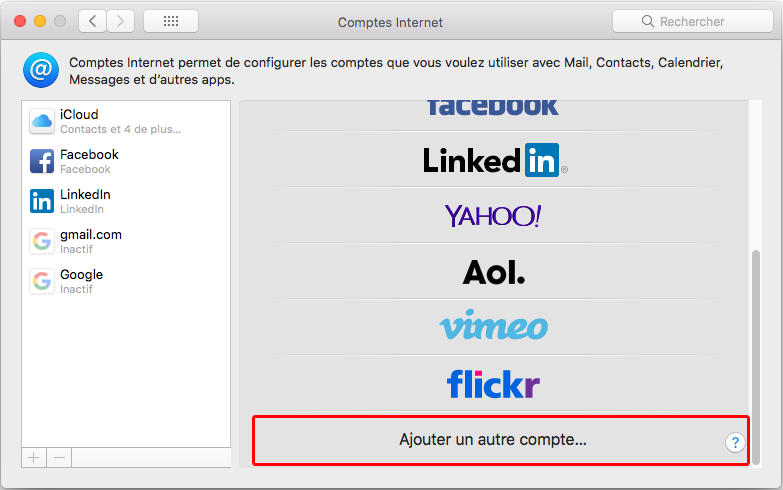
- In the list of account types to add (on the right), select "Add another account..." :
- In the new list that is added to the previous one, select "CalDAV Account" if you want to add a shared calendar or "CardDav Account" if you want to add a shared contact list :
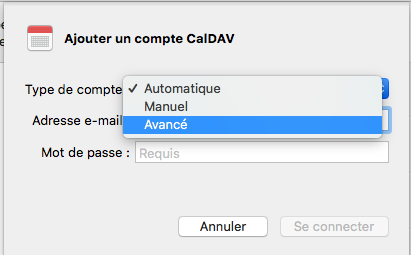
- In the "Add CalDAV account" window that appears, in the "Account type" field select "Advanced":
- Then fill in the fields as follows, the data to be entered is the same for adding a list of contacts/address book:
- Username: the email address of the account to be configured;
- Password: the e-mail password for the address entered as "User name";
- Server address: An address formatted like this "https://mail.[domain] ". For example, for the domain something.ch you should enter "https://mail.something.ch";
- Server path : A path formatted like this "/rpc/principals/[e-mail address] ". For example for the address diego@something.ch you should enter "/rpc/principals/diego@something.ch";
- Port: 2080 ;
- Use SSL: Check the box
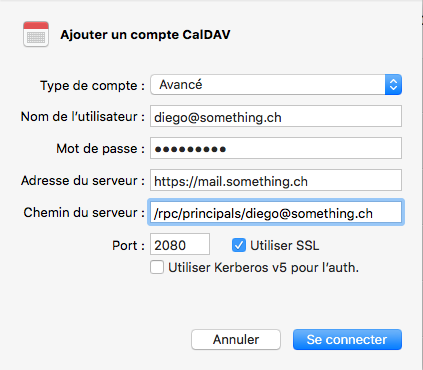
- Click on "Connect ". This step may take a few seconds;
- Once connected, you are back in the Internet accounts interface, you can enter a custom name in the "Description" field so that your calendar will be displayed under this name to make it easier to recognize.
In the "Use with" field you can select the application(s) to use with this calendar. This list will depend on what you have installed on your computer, but most often it is at least the "Calendars" application that is used with CalDAV and "Contacts" with CardDav :
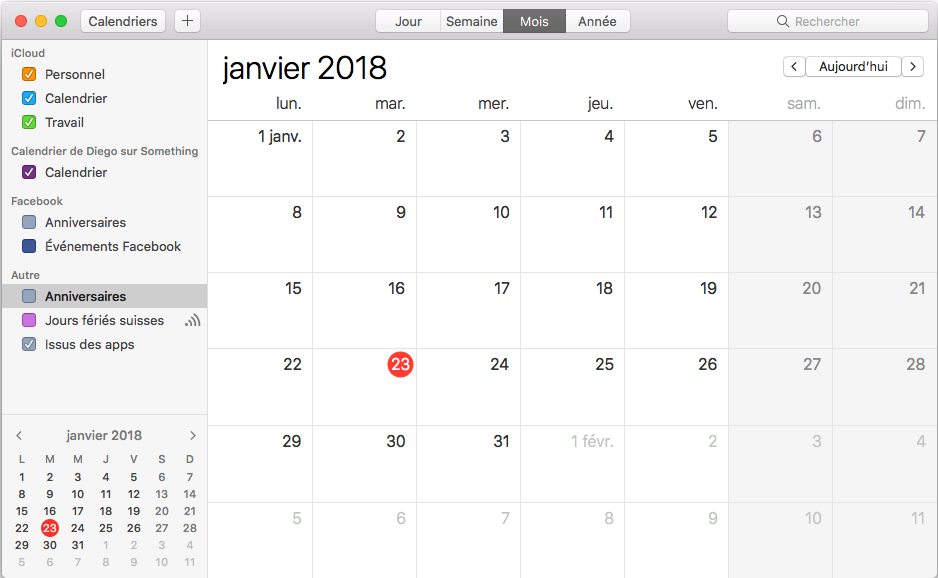
- Finally, you can now start your "Calendars" or "Contacts" application to use your shared calendar or contact list. It appears in the list of calendars or contacts that you can display: